
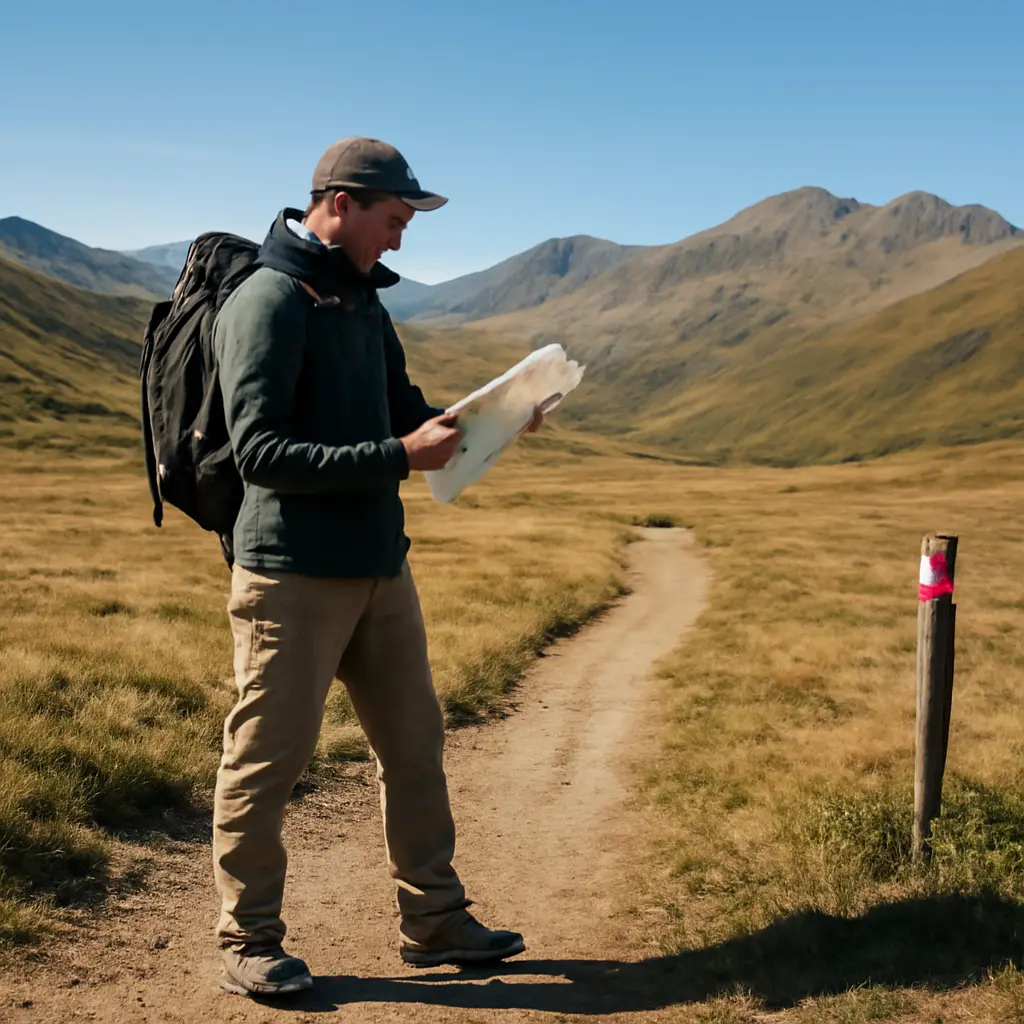
Hiking trails are marked routes through natural or cultural landscapes, ranging from short, accessible paths to demanding wilderness traverses. The right trail depends on a hiker’s experience, fitness, available time, interests, and the conditions on the ground. This guide compares trail types—from easy day hikes and family walks to strenuous alpine routes and long-distance journeys—then explains how to choose a route, prepare safely, follow Leave No Trace practices, and use trusted sources for current conditions. The National Park Service reports that its sites received about 331.9 million recreation visits in 2024, a reminder that trails are both popular outdoor destinations and places that require thoughtful planning.
Trail types match different hiking goals and abilities
A hiking trail is a designated route intended for travel on foot. The U.S. Forest Service describes trails as routes built or maintained for recreation and other uses; trail designations, surfaces, and permitted activities vary by land manager. That means a trail’s name alone does not tell you whether it is easy or safe: distance, elevation gain, terrain, weather, exposure, and access all matter.
The National Park Service commonly rates trail difficulty by considering factors such as distance, elevation change, terrain, and route conditions. Ratings are useful starting points, not universal guarantees: a “moderate” route in one park may feel very different from a similarly labeled route elsewhere. Check the managing agency’s description and recent alerts before setting out.
Easy and accessible trails
Easy trails usually have shorter distances, modest elevation gain, and relatively predictable footing. They suit beginners, relaxed outings, and hikers who want a lower-effort way to experience nature. Some paths are designed to improve access for wheelchair users and people with limited mobility, but accessibility depends on the full route—not just its surface. Look for details on grade, width, cross-slope, obstacles, resting places, and accessible facilities.
A short paved or compacted path near a visitor center can be a good first hike, but even easy routes require water, weather-appropriate clothing, and a plan for getting back. Check whether the route is a loop or an out-and-back, and confirm that construction or seasonal closures have not changed access.
Moderate day hikes
Moderate hikes often involve longer distances, sustained climbs, uneven ground, or several hours on the trail. They are a good fit for hikers who are comfortable walking for extended periods and have practiced pacing and navigation. Before choosing one, review the elevation profile and consider whether the route includes steep descents, stream crossings, exposed ridges, or limited water.
Distance alone is an unreliable measure of difficulty. A short route with a steep climb can take more effort than a longer, flat walk. Allow time for breaks and changing conditions, and set a turnaround time that leaves a safe margin before darkness.
Strenuous and alpine routes
Strenuous trails may include major elevation gain, loose rock, scrambling, snow, exposure, or remote terrain. Alpine conditions can change rapidly, and routes that are straightforward in summer may be hazardous when snow or ice remains. These hikes call for sound fitness, appropriate footwear and equipment, reliable navigation, and the judgment to turn back when conditions exceed your preparation.
High elevation can also affect exertion and acclimatization. The U.S. Centers for Disease Control and Prevention advises travelers going to high altitudes to ascend gradually when possible and recognize symptoms of altitude illness, such as headache, nausea, dizziness, and unusual fatigue. Anyone who develops concerning symptoms should stop ascending and seek appropriate medical guidance.
Long-distance and multi-day trails
Long-distance trails connect landscapes over many days or weeks, while multi-day hikes cover a shorter route with overnight stays. Both require more than endurance: hikers need a resupply plan, suitable shelter and sleep systems, food, water treatment where needed, and knowledge of permits and camping rules.
The National Park Service’s 2024 recreation-visitation report illustrates the scale of public use across U.S. national park sites, but visitation numbers do not indicate conditions on an individual trail. For a long route, consult the relevant land managers and trail organizations for closures, water availability, fire restrictions, and permit requirements, then build flexibility into the itinerary.
Trail selection begins with conditions, ability, and purpose
Choosing a trail is a matching exercise: compare what the route demands with what your group can safely do on that day. The American Hiking Society recommends planning ahead and preparing for the hike, while land-management agencies emphasize checking local regulations and current conditions. A useful choice accounts for the least experienced person in the group, not only the strongest hiker.
Match distance and elevation to your group
Read the route description for total distance, elevation gain, expected duration, and terrain. Confirm whether listed distances are one way or round trip. Consider your recent activity, not just your general fitness: a steep climb can feel very different after months away from hiking. For groups, agree on a pace and turnaround point before starting.
Choose a trail for the experience you want
Different trails offer different rewards. A nature trail may highlight plants and wildlife; a historic route may pass cultural sites; a ridge walk may provide wide views; and a lakeside path may offer gentler terrain. Match the route to your goal, but check whether sensitive habitats, wildlife protections, or seasonal restrictions affect where visitors may walk.
Check current conditions and access
A guidebook or map can become outdated. Before departure, check the official land-manager page or visitor center for closures, storm damage, fire restrictions, snow, water advisories, road access, and permit rules. Weather forecasts should cover the trail’s elevation and likely return time; mountain and coastal conditions can differ sharply from nearby towns.
Where available, recent reports from established trail organizations can add useful context, but treat unofficial accounts as supplementary rather than definitive. If a route depends on a bridge, seasonal road, or water source, verify that specific feature before relying on it.
Hiking preparation reduces avoidable risk
Preparation helps hikers respond to common problems such as changing weather, fatigue, navigation errors, and minor injuries. The National Park Service’s Ten Essentials guidance and the American Hiking Society’s hiking-safety advice both stress carrying appropriate supplies and planning for emergencies. The exact kit depends on trip length, climate, remoteness, and group needs.
Use a practical gear checklist
The familiar “Ten Essentials” framework groups key items for navigation, sun protection, insulation, illumination, first aid, fire, repair, nutrition, hydration, and emergency shelter. It is a planning framework rather than a one-size-fits-all packing list: a short urban-park walk and a remote overnight route call for different equipment.
- Carry a map and a reliable navigation method, and know how to use them.
- Bring enough water and food for the route, plus a reserve appropriate to the conditions.
- Pack layers, rain protection, sun protection, a light source, and basic first-aid supplies.
- For remote or overnight hikes, consider an emergency shelter and communication method suited to the area.
- Wear footwear appropriate to the terrain, and test new footwear before a demanding hike.
Plan for water, weather, and daylight
Water needs vary with temperature, exertion, body size, and route availability, so there is no single amount that suits every hiker. Do not assume a stream or spring is safe to drink untreated. The U.S. Environmental Protection Agency notes that untreated surface water can contain pathogens; use a treatment method appropriate to the water and follow its instructions.
Check the forecast and identify hazards such as thunderstorms, extreme heat, cold, flash flooding, or high winds. Start early when appropriate, track your progress, and leave enough daylight for the return. If conditions deteriorate, change plans rather than treating the summit or destination as an obligation.
Share your plan and know when to turn back
Tell a trusted person where you are going, which route you intend to take, and when you expect to return. For remote trips, include a check-in plan and instructions for what to do if you do not make contact. Keep your phone charged, but do not assume that it will have service or replace a map and navigation skills.
Turn back if weather, injury, fatigue, route-finding, or timing makes continuing unsafe. A turnaround decision is a normal part of sound hiking judgment, not a failed trip.
Responsible hiking protects trails and communities
Trails are shared spaces, and outdoor recreation can affect soil, water, plants, wildlife, and nearby communities. The Leave No Trace Center for Outdoor Ethics organizes low-impact practices into seven principles, including planning ahead, traveling on durable surfaces, disposing of waste properly, and respecting wildlife. Following local rules is essential because appropriate practices can vary by ecosystem and land designation.
Stay on durable, designated routes
Walk on the established trail where permitted. Cutting switchbacks or creating informal paths can widen erosion and damage vegetation. In fragile alpine, desert, wetland, and shoreline environments, even a small amount of off-trail travel can have lasting effects; follow posted directions and local guidance about where travel is allowed.
Pack out waste and protect wildlife
Pack out litter, leftover food, and other waste according to site rules. Store food securely where required, and never feed wildlife: human food can alter animal behavior and create risks for both animals and visitors. Observe wildlife from a respectful distance and do not approach or chase it for photographs.
Share trails considerately
Yield according to local signage and trail etiquette, keep noise at a considerate level, and communicate courteously when passing. Rules for hikers, cyclists, equestrians, and dogs differ by trail. Check whether pets are allowed, keep them controlled as required, and clean up after them.
Trail examples show how to apply the guide
A trail’s real demands are best understood by combining its official description with current conditions and the needs of the group. These examples show how the same planning principles apply to different kinds of outings.
A first hike in a national park
A beginner visiting a busy park might choose a short, clearly marked loop near a visitor center. The hiker should check the park’s current alerts, confirm the route’s surface and elevation, carry water and a charged phone, and start early enough to avoid rushing. High visitation reported across national park sites makes advance checks especially useful for parking, shuttle access, and temporary restrictions.
A mountain day hike
A group planning a summit hike should inspect the elevation profile, forecast, trail reports, and any snow or exposure warnings. They should carry navigation, extra insulation, food, water, and a light source, then set a turnaround time. If storms build or the group falls behind schedule, descending safely takes priority over reaching the summit.
A multi-day route
For an overnight trek, hikers should confirm permits, campsites, water sources, fire rules, and resupply options with the relevant authorities. They should divide the route into realistic daily stages, plan for delays, and leave an itinerary with someone at home. A printed or downloaded map is useful when connectivity is limited, but navigation tools should be tested before departure.
Conclusion: choose well, prepare carefully, and hike responsibly
A complete hiking plan starts with the trail type—accessible walk, moderate day hike, strenuous alpine route, or multi-day journey—and checks whether its demands fit the group. Route selection should account for distance, elevation, terrain, purpose, and current access. Preparation means carrying suitable essentials, planning for water and weather, sharing an itinerary, and turning back when needed. Responsible hiking protects the places and people that make trails valuable.
Before your next outing, consult the official land manager’s current trail information, choose a route that fits your experience, and review Leave No Trace guidance. For specific conditions, permits, accessibility details, and safety rules, rely on the agency responsible for the trail.
Sources: National Park Service, 2024 National Park Visitor Spending Effects Report and recreation visitation statistics, https://www.nps.gov/subjects/socialscience/visitor-use-statistics.htm; National Park Service, Hiking Safety, https://www.nps.gov/articles/hiking-safety.htm; National Park Service, Ten Essentials, https://www.nps.gov/articles/10essentials.htm; U.S. Forest Service, Trails, https://www.fs.usda.gov/managing-land/trails; U.S. Centers for Disease Control and Prevention, Yellow Book: High-Altitude Travel and Altitude Illness, https://www.cdc.gov/yellow-book/hcp/environmental-hazards-risks/high-altitude-travel-and-altitude-illness.html; U.S. Environmental Protection Agency, Emergency Disinfection of Drinking Water, https://www.epa.gov/ground-water-and-drinking-water/emergency-disinfection-drinking-water; American Hiking Society, Hiking Safety, https://americanhiking.org/resources/hiking-safety/; Leave No Trace Center for Outdoor Ethics, The 7 Principles, https://lnt.org/why/7-principles/


