Choosing the right hiking trail means matching a route to your fitness, experience, available time, conditions, and goals—not simply picking the most popular or scenic option. The American Hiking Society recommends considering factors such as distance, elevation gain, terrain, and weather, while the National Park Service advises hikers to plan for the specific conditions of their destination. These principles matter: the U.S. Centers for Disease Control and Prevention recommends that adults get at least 150 minutes of moderate-intensity physical activity each week, and hiking can contribute to that goal when done at a suitable pace. This guide explains how to assess trail difficulty, choose a route for your abilities and interests, use maps and forecasts, prepare for safety, and adjust plans when conditions change.
Trail selection factors define the right hiking route
A hiking trail is a marked or established route intended for travel on foot. The “right” trail is a route whose demands and conditions fit a hiker’s current abilities, preparation, equipment, and objectives. The National Park Service’s trip-planning guidance emphasizes researching a hike before setting out, including its length, elevation change, terrain, weather, and any restrictions or hazards. No single difficulty label captures all of these factors, so hikers should evaluate them together.
Distance, elevation gain, surface, exposure, navigation demands, and expected time are the main trail-selection characteristics. A short route can be strenuous if it climbs steeply or crosses rough ground; a longer, nearly level path may be more manageable. Trail ratings also vary between parks and map providers, so treat them as local guidance rather than a universal standard. The following categories help translate route information into a practical choice.
Distance and elevation gain
Distance is the length of the route, while elevation gain is the total vertical ascent. Both affect effort, but they do so differently: sustained climbing places greater demands on the legs and heart than level walking, and a round trip may require more time than its mileage first suggests. Check whether a published distance is one way or round trip, and look at the elevation profile rather than relying on mileage alone. For a first outing or a return after time away, choose a route that leaves enough daylight and energy for the return journey.
Terrain, trail surface, and exposure
Terrain describes the physical character of a route, including its surface, grade, obstacles, and exposure to weather or fall hazards. A wide, maintained path is different from a rocky, muddy, or narrow track, even when the routes have similar lengths. Scrambling, stream crossings, loose slopes, and exposed ridgelines may require balance, specific equipment, or experience. Read recent trail notices and descriptions, and do not assume that a route is suitable just because it is designated as a hiking trail.
Time, daylight, and seasonal conditions
Estimated hiking time should include breaks, navigation checks, and delays—not just moving time. Daylight hours change by season, and snow, heat, rain, or muddy ground can make a familiar route slower or less safe. The National Weather Service provides forecasts and hazard information that hikers can use alongside local land-manager advisories. Check conditions close to departure, and set a turnaround time that allows the group to return before dark or worsening weather.
Hiking trail types match routes to goals and experience
Trail type describes a route’s typical setting, length, purpose, and level of commitment. Common options include paved or accessible paths, short nature trails, day hikes, strenuous summit routes, and multi-day backpacking trails. These categories are useful starting points, but labels do not guarantee that a route will suit every visitor. Match the trail’s specific features to the least experienced or least prepared member of the group.
Accessible paths and short nature walks
Accessible paths are designed to reduce barriers for people with mobility, sensory, or other access needs, though conditions and standards vary by location. Check the land manager’s current accessibility information for surface, width, slope, resting places, and facilities; a label alone may not answer practical questions about a particular visitor’s needs. Short nature walks can also be a good way to test footwear, pacing, and comfort before attempting a longer hike.
Day hikes and summit routes
A day hike is completed within one outing, while a summit route aims for a high point and may involve steep grades, exposed terrain, or rapid weather changes. The destination can be rewarding, but it should not dictate the decision to continue. Turn back if the group is behind schedule, conditions deteriorate, or anyone is becoming unwell. A safe turnaround is a successful hiking decision, even when the summit remains out of reach.
Backpacking and long-distance trails
Backpacking routes require carrying overnight equipment and planning for water, food, shelter, navigation, and campsite rules. Long-distance trails extend these demands over many days or weeks, making resupply, recovery, and changing conditions central to route choice. Beginners can build experience with an overnight trip close to an exit point before committing to a remote or extended route. Check permit requirements and current land-management rules before departure.
Hiker fitness and group needs guide route difficulty
Fitness is the ability to meet a route’s physical demands; hiking experience adds skills such as pacing, navigation, and judgment. The right trail should challenge the group without relying on optimism about speed or endurance. The CDC’s recommendation of at least 150 minutes of moderate-intensity activity per week is a general health guideline, not a measure of readiness for a particular hike. Trail readiness depends on the route and the individual, including health conditions, recent activity, and experience on similar terrain.
Assess the least experienced hiker
A group should select a route that all participants can reasonably complete, accounting for children, older adults, beginners, and anyone with health or mobility considerations. Agree in advance on pace, rest stops, and a turnaround point. If a participant has a medical concern that could affect exertion, heat tolerance, or altitude response, they should seek appropriate professional advice and choose a route accordingly.
Build distance and difficulty gradually
Progressive training means increasing hiking demands in manageable steps rather than jumping directly to a long or steep route. Begin with comfortable walks, then add distance, elevation, or rougher terrain one factor at a time. Try the shoes, pack, and clothing planned for the hike during training. This approach helps reveal friction, fatigue, or equipment problems while the consequences are small.
Trail research and navigation reduce uncertainty
Trail research combines maps, official route descriptions, current alerts, weather forecasts, and local knowledge to establish what a hike involves. The National Park Service advises visitors to plan ahead and know the conditions and requirements for their destination. Use official land-manager information where available, because closures, permits, water availability, and trail damage can change. Online reviews can add context, but they may be outdated or describe conditions that no longer apply.
Read maps and route descriptions
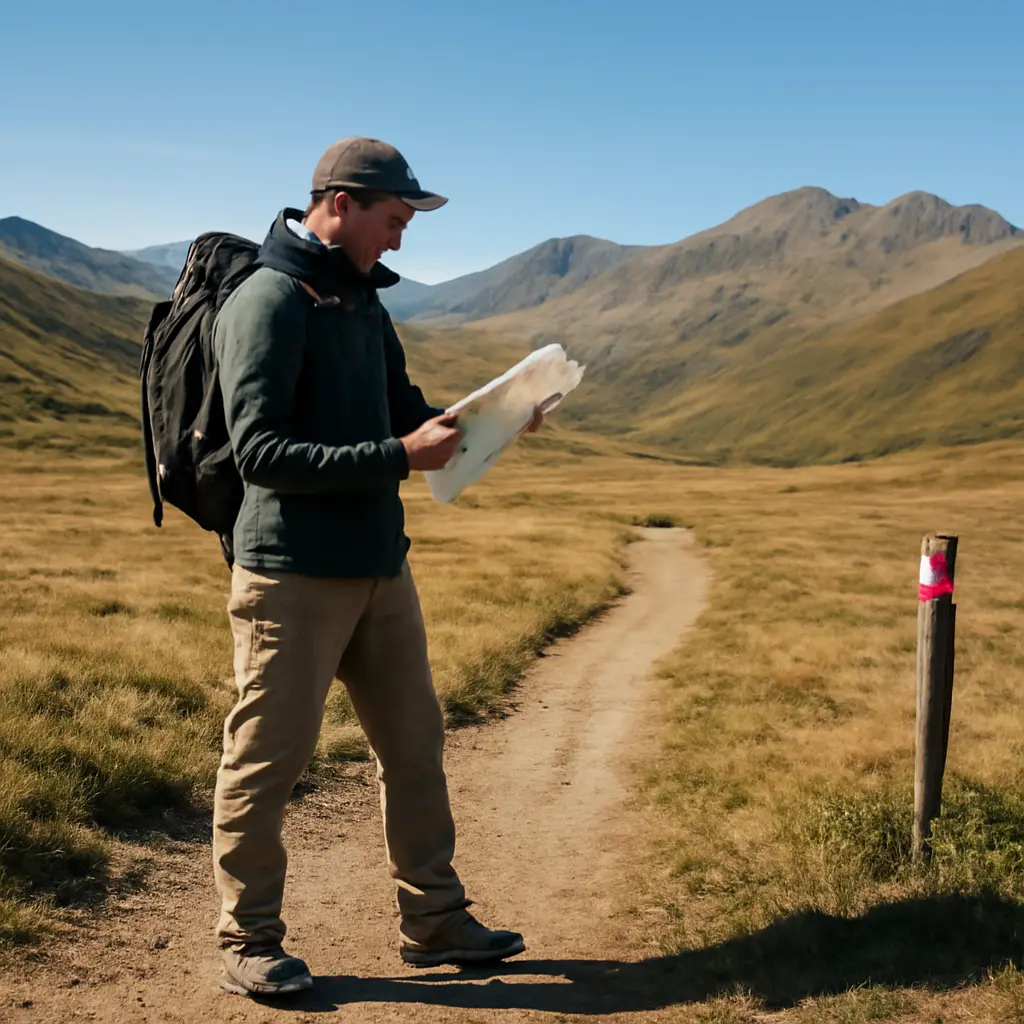
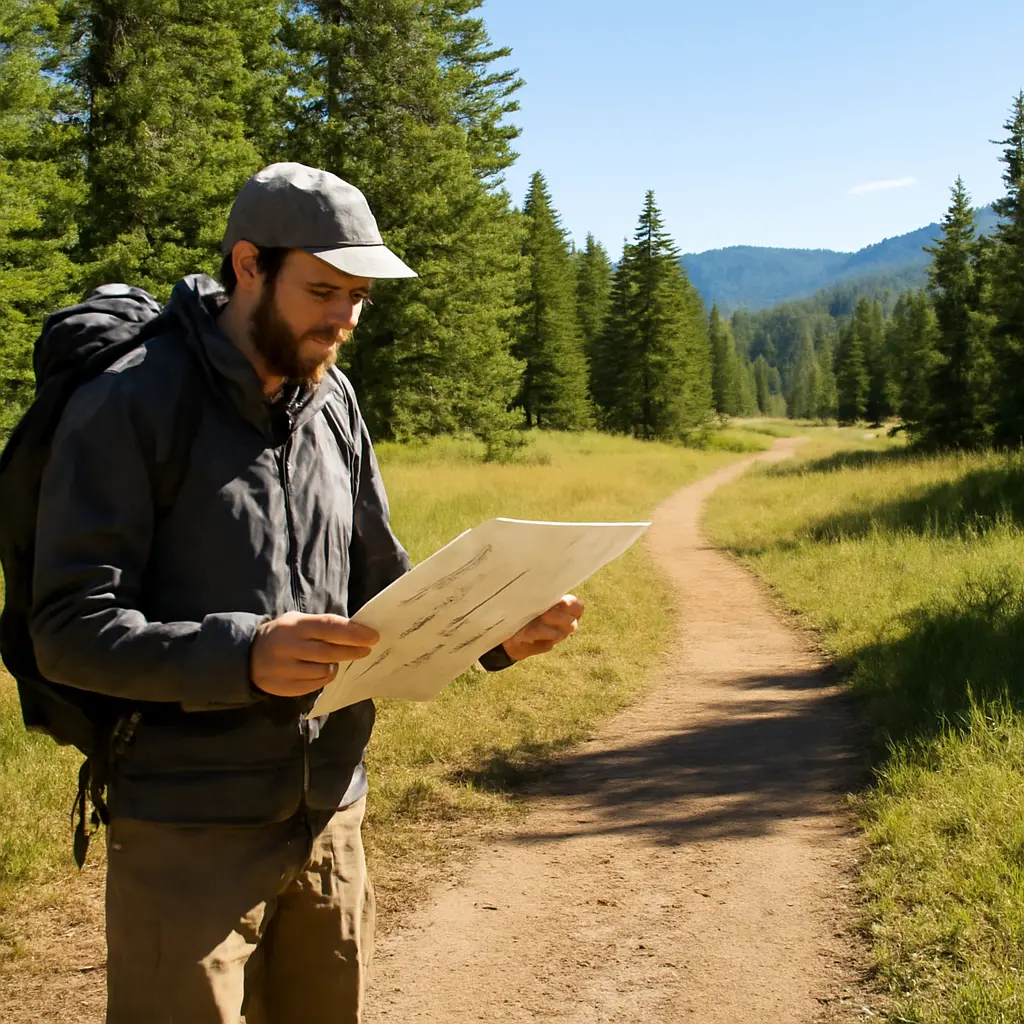
A topographic map shows land shape through contour lines and can help hikers identify steep climbs, ridges, and valleys. Compare the map with a route description and note junctions, water sources, bail-out options, and the return route. Download or carry navigation information before losing cellular coverage. A phone is useful, but batteries can fail and signal may be unavailable, so carry a reliable backup suited to the trip and know how to use it.
Check weather, closures, and local hazards
Conditions can change rapidly with altitude, season, and location. Review the forecast for the trail area—not just the nearest town—and check for warnings involving storms, heat, wildfire smoke, flooding, snow, or high winds. Confirm whether the route is open and whether permits, parking reservations, or seasonal restrictions apply. If the forecast or official advisories indicate conditions beyond the group’s ability, choose another route or postpone the hike.
Hiking safety preparation protects people and places
Hiking safety is the practice of anticipating foreseeable problems and carrying the knowledge and equipment to respond. The National Park Service encourages visitors to plan for their trip and follow local guidance; the National Weather Service’s forecasts and alerts help hikers assess weather-related risk. Preparation cannot remove every hazard, but it can make a safer decision more likely when circumstances change.
Carry essentials suited to the route
Pack water, food, suitable clothing, navigation tools, illumination, a first-aid kit, and any route-specific equipment. The amount of water and insulation needed depends on temperature, exertion, duration, and access to reliable sources. Do not assume that water found along a trail is safe to drink without appropriate treatment. For remote trips, learn the relevant emergency procedures and carry communication equipment appropriate to the area.
Share a plan and respect turnaround decisions
Before leaving, tell a trusted person the route, expected return time, and what to do if the group is overdue. Keep the group together and reassess conditions at junctions, water crossings, and exposed sections. Turn around if the route is closed, navigation becomes uncertain, weather worsens, or the group is running out of daylight, water, or energy. Reaching a destination is optional; returning safely is essential.
Follow Leave No Trace practices
Leave No Trace is a set of outdoor ethics intended to reduce human impacts on natural places. Hikers can help by staying on durable surfaces, packing out waste, respecting wildlife, and following local rules for fires, camping, and dogs. These choices protect the trail experience for other visitors and help preserve habitats. Check the land manager’s instructions, since appropriate practices can differ by ecosystem and season.
A practical trail-selection process turns research into a plan
A simple sequence makes trail choice more reliable: clarify the outing’s purpose, assess the group, compare route demands, check current conditions, and prepare a backup plan. For example, a beginner seeking a weekend nature outing might select a maintained, short loop with modest elevation, confirm that it is open, check the forecast, and carry water, food, navigation, and a light source. If rain or a closure changes the plan, a shorter alternate route—or postponing—may be the better choice.
- Set the goal: exercise, scenery, wildlife viewing, a family outing, or an overnight trip.
- Assess the group’s experience, fitness, access needs, and available time.
- Compare distance, elevation gain, terrain, exposure, and estimated duration.
- Verify the route with current land-manager information, maps, alerts, and weather.
- Prepare suitable clothing, food, water, navigation, and emergency essentials.
- Share the plan, identify a turnaround time, and choose an alternative if conditions change.
A route-planning chart can make comparisons easier: list candidate trails in rows and distance, elevation gain, surface, estimated time, access information, and current hazards in columns. The chart is a decision aid, not a substitute for judgment or official updates.
Conclusion: Choose a trail that fits today’s conditions
Choosing the right hiking trail requires more than comparing mileage. Evaluate elevation, terrain, time, weather, route type, fitness, group needs, and navigation demands together. Use official trail information and forecasts, carry essentials, protect the environment, and be willing to change plans. Start with a route that fits the group as it is today, then build experience gradually. Before your next outing, check the land manager’s current updates, prepare a backup option, and share your itinerary with someone you trust.
Sources: American Hiking Society, Hiking Basics, https://americanhiking.org/resources/hiking-basics/; Centers for Disease Control and Prevention, Adult Activity: An Overview, https://www.cdc.gov/physical-activity-basics/guidelines/adults.html; National Park Service, Plan Like a Park Ranger: Hike Smart, https://www.nps.gov/articles/hiking-safety.htm; National Park Service, Plan Your Visit, https://www.nps.gov/planyourvisit/index.htm; National Weather Service, Weather Forecasts, https://www.weather.gov/forecastmaps; Leave No Trace Center for Outdoor Ethics, The Seven Principles, https://lnt.org/why/7-principles/.